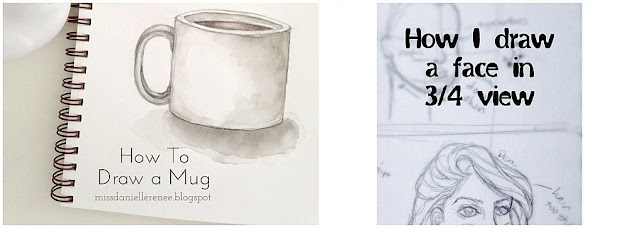
Over past week and a half I've been sketching tiny faces. I thought this would be a good time to attack the dreaded 3/4 view. There are tons of tutorials out there but I was still having so much trouble. As you will see some of my drawings are stiff and lifeless. I wanted to share some tips I now use to draw my girls in 3/4 view. Disclaimer: this is how I like to draw....my drawings are stylized illustrations.
First, let me take you through my sketches. I started my drawings in front view to warm up. You can see the third girl on the first page has a flat chin. I kept the drawing and made notes so I could see where I was going wrong.
1


2
TIP: Don't erase your sketches - make notes and track your progress.
When I got to the girls looking up and down I watched this
vid on YouTube which helped me a lot! Alphonso Dunn is a great artist and teacher. I used some other general guidelines found
here and
here.
3


4
The third page has some funky head shapes. The second girl I wrote 'face shape wrong.' I feel like there is enough room for the features I just didn't like her jaw. I like the hair on that page and plan to practice more.
On page four I had two girls with frozen faces and pouty lips. The girl on the bottom left was the last I drew on that page and noticed that if I start with a circle and NOT an oval the features seem to wrap around the head. When I draw an oval the face tends to be flat.

5
Page five came out some much better then the rest. So, I noticed that my biggest problem area was the inside eye. Inside eye meaning the eye which is partially hidden by the nose or farthest away. If I can get that curve of the face right I'm able to set myself up for success.
Below I am using the shape of the bean to act as the eye socket and cheek.
I draw a bean shape inside of a circle.
Make my guidelines for the facial features closest to the side with my curve.
Elongate the chin and forehead.
Lightly draw eyes, nose, and mouth.
Connect the nose bridge to the inside eyebrow.
Define eyebrows and square out jawline.
Drawing the face is a gradual process for me. I erase, move, and make curves until I like what I see. Use a model or good large photo reference. Don't forget to add shading and highlights. Please comment below if this was helpful or if you have questions!
Like on
Bloglovin, share post on Facebook and I guess I'm on
Twitter now (don't know how to use it)!